This site is being phased out.
Quality of soldering
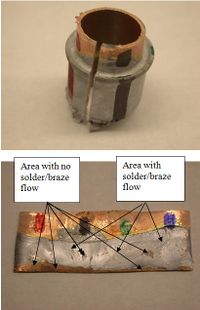
Q: "Interested in assessing whether your software could be used to determine the quality of a solder joint... Joint is composed of an aluminum tube and a copper pipe... The area of the copper pipe that overlaps or contacts the aluminum tube is the area that needs assessment. Would like to determine what percent of this area has a solder coating. The solder is a zinc78%/alum22% alloy... the copper pipe section could be flattened to a greater degree if this to would help with accuracy."
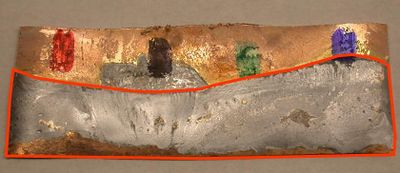
As it has been suggested, it is a good idea to outline what is to be measured manually so that we can see if automatic analysis produces reasonable results:
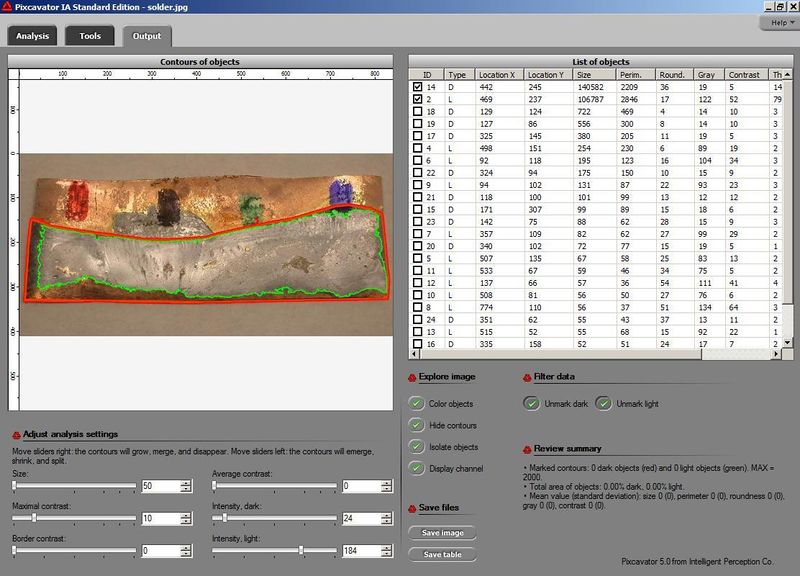
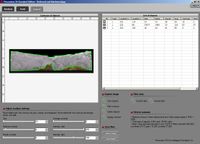
This is what I was able to do with Pixcavator. In the screenshot the two numbers are at the top.
The area inside the red contour (i.e., inside your red line) is 140,582 pixels.
The area inside the green contour (i.e., gray region) is 106,787 pixels.
So the proportion of gray inside the red line is
106,787 / 140,582 = 76%.
By moving the sliders one can make the contours to fit better and improve the accuracy.
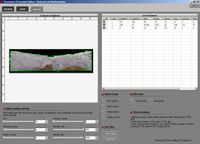
I also experimented with the image of the same piece of metal but without the red line. The results were mixed. I captured some features but not enough to produce the number we are looking for. For that the quality of the image would have to improve. It would help if the piece of metal was on a totally white or totally black background (for better contrast) or both. It would also help if the piece was flatter at the edges.
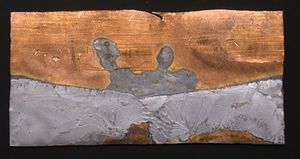
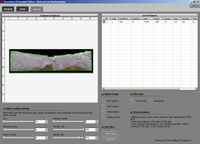
I experimented with these new images. The changes certainly improved their quality and the quality of the output of the image analysis. However, the problem, as it stands, hasn't been solved. Without going into details, here is one issue. In the image you can see two areas outlined. The one outlined in red should not be included in the measurements while the one in green should. Yet, they both have very similar color. The result is that either the analysis includes both or excludes both.
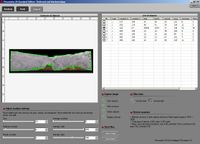
Further, the silver colored region was blacked out. First, I analyzed the green channel. With light set at 219 the green contour captured the whole thing: 41,954 pixels and with light at 160 it captured the aluminum part of the surface: 36,924. So, the copper part is
41,954 - 36,924 = 5,030 pixels.
Proportionally,
 aluminum = 36,924 / 41,954 = 88%,
 copper = 5,030 / 41,954 = 12%.
Just in case I ran the blue channel too. The results are very similar: the whole = 42,195, the aluminum = 37,077. Of course the contours may vary depending on the person... The results seem satisfactory to me.
Other image analysis examples
